Setup Gitlab with Rstudio
These are the steps to setup Gitlab in Rstudio cloud/desktop.
- Import a project from Gitlab:
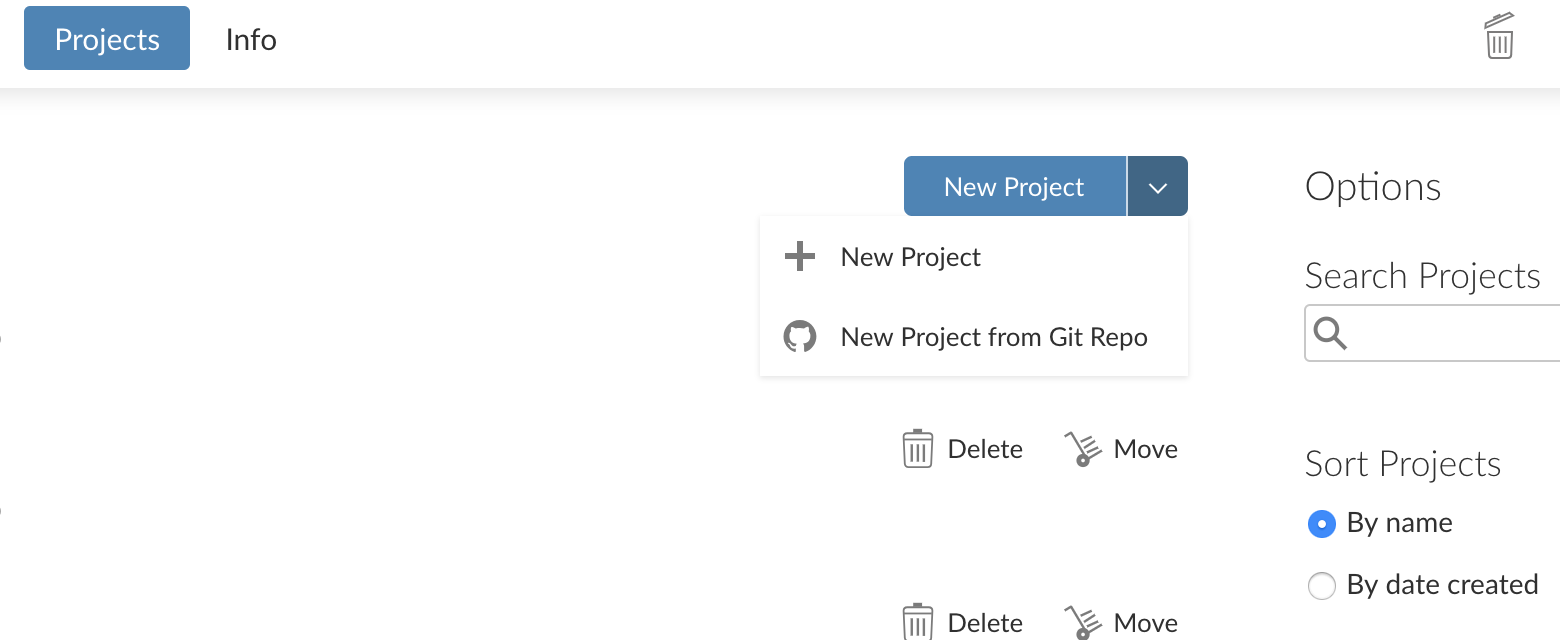
- you can import a new project from Gitlab in Rstudio cloud

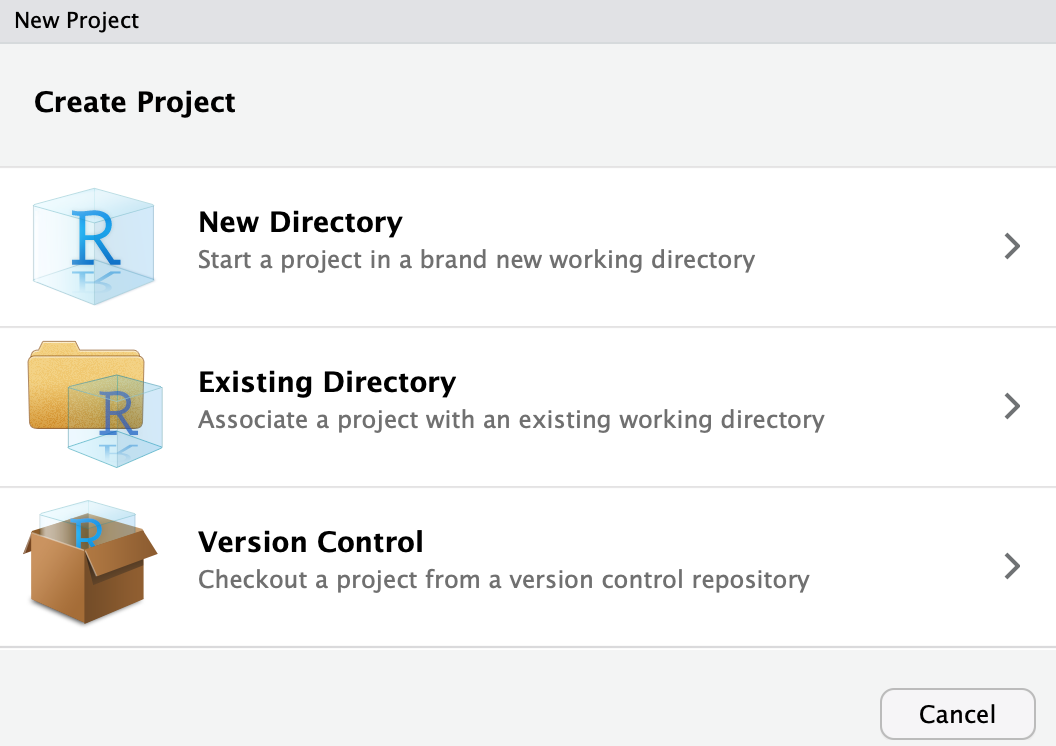
- or if you are using Rstudio Desktop you can go to: File → New
project → Version control

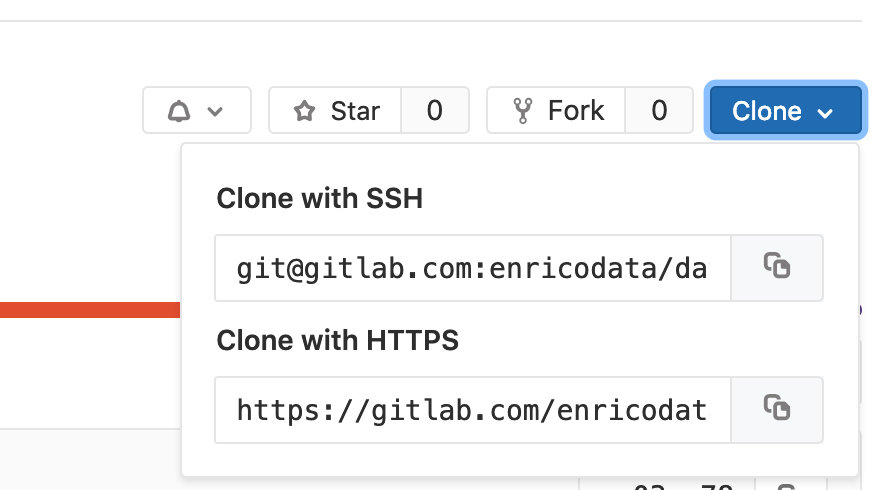
- Insert the url that you get from Gitlab → clone with HTTPS

with the format: https://gitlab.com/USERNAME/PROJECTNAME.git
-
go in Rstudio → Global Options → Git/SVN → click on Create RSA Key → click on View public key → copy the code
-
In Gitlab go in settings → SSH Keys → paste the code from the previous step
-
in Rstudio go to Terminal and paste the following:
- git config - - global user.email “YOUR EMAIL”
- git config - - global user.name “YOUR NAME”
- git config remote.origin.url git@gitlab.com:USERNAME/PROJECTNAME.git
- the first time that you commit you will be asked to type the username and password of Gitlab. If you are using in Gitlab the Two-Factor Authentication then instead of the password you need to paste the access token that you can get from: Gitlab → settings → Access token
The above steps are for Gitlab, for Github it works in a similar way.
